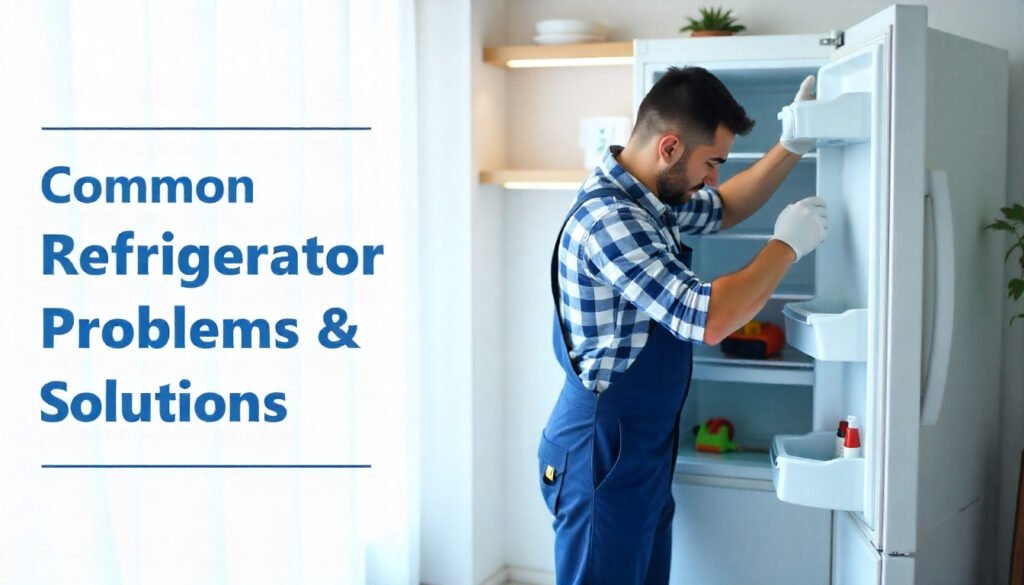
How to Defrost a Refrigerator Manually: A Complete Guide for Hyderabad Residents

Introduction
A refrigerator is one of the most essential appliances in every household, especially in Hyderabad, where summers are long and humidity is high. It keeps your food fresh, preserves leftovers, and ensures drinks and frozen items are always ready. But over time, especially in freezers, ice can build up and cause problems.
Manual defrosting is the process of removing frost or ice accumulation from your refrigerator or freezer without relying on automatic defrosting features. While many modern refrigerators have auto-defrost functions, manual defrosting remains necessary for older models or for refrigerators where frost has accumulated excessively.
In Hyderabad, manual defrosting is particularly important due to the city’s humid climate. High humidity increases frost accumulation, which can affect cooling efficiency, lead to higher electricity bills, and even damage your appliance over time.
This comprehensive guide explains why manual defrosting is necessary, how to do it safely, step-by-step procedures, maintenance tips, and common mistakes to avoid, all tailored for Hyderabad residents.
1. Why Manual Defrosting is Necessary
Even if your refrigerator is working well, ice buildup can occur due to:
- High Humidity in Hyderabad: Moist air can condense inside the freezer and form ice over time.
- Frequent Opening of the Door: Every time the refrigerator door is opened, warm air enters, causing frost formation.
- Older Refrigerator Models: Some older refrigerators do not have automatic defrost functions.
- Freezer Overloading: Keeping too many items in the freezer can restrict airflow, increasing ice buildup.
Problems caused by ice buildup:
- Reduced cooling efficiency
- Higher energy bills
- Food spoilage
- Strain on the compressor
- Water leakage when ice melts
By defrosting manually, you remove ice and restore your refrigerator’s efficiency.
2. Preparing for Manual Defrosting
Before starting the defrosting process, it is important to prepare your refrigerator and kitchen area to ensure safety and cleanliness.
2.1. Unplug the Refrigerator
Always unplug the refrigerator to prevent electrical hazards. Safety is the first priority.
2.2. Empty the Freezer and Refrigerator
- Remove all food items, especially perishables.
- Store them in coolers or insulated bags with ice packs to maintain temperature.
2.3. Protect Your Kitchen Floor
- Place towels, old newspapers, or a shallow tray to catch melting water.
- This prevents water damage to the floor, especially if it is wooden or tiled.
2.4. Gather Necessary Tools
- Plastic scraper (avoid metal to prevent damage)
- Sponges or towels for soaking water
- Bowl of hot water to speed up ice melting
- Baking soda and warm water for cleaning
3. Step-by-Step Manual Defrosting Process
Manual defrosting can take time but following these steps will ensure safety and efficiency:
Step 1: Turn Off the Refrigerator
- Switch the refrigerator to “Off” and unplug it.
- Open the freezer and refrigerator doors to allow warm air to enter.
Step 2: Let the Ice Melt Naturally
- Ice will start melting naturally over time.
- Depending on the ice thickness, this may take 4–6 hours.
Step 3: Use Hot Water to Speed Up Melting
- Place a bowl of hot water inside the freezer.
- The steam helps loosen ice and speeds up the melting process.
- Replace the water every 15–20 minutes if needed.
Step 4: Gently Scrape Ice
- As the ice softens, gently use a plastic scraper to remove it.
- Avoid using knives or metal objects to prevent damage to the freezer walls.
Step 5: Absorb Excess Water
- Use sponges or towels to soak up melting water continuously.
- This prevents water from spilling onto the kitchen floor.
Step 6: Clean the Interior
- Mix baking soda with warm water (about 2 tablespoons per liter).
- Wipe the interior, shelves, and compartments to remove odors.
- This step also helps prevent mold growth.
Step 7: Dry Thoroughly
- Use a dry cloth or towel to remove all moisture.
- Ensure no water remains in corners or under trays before restarting the refrigerator.
Step 8: Plug Back and Restock
- Plug the refrigerator back in and allow it to reach the desired temperature.
- Once cooled, restock food items in an organized manner.
4. Tips for Efficient Defrosting in Hyderabad
- Schedule Defrosting in Advance
- Allocate sufficient time to avoid rush, especially during summer.
- Never Use Sharp Objects
- Knives or screwdrivers can puncture walls, damage refrigerant lines, or cause leaks.
- Defrost Regularly
- For Hyderabad residents, defrost at least once every 6 months or when ice buildup exceeds 1/4 inch.
- Check Door Seals
- Worn gaskets let in humid air, accelerating frost accumulation.
- Use a Fan to Speed Melting
- Positioning a fan near the open freezer door can circulate warm air and expedite defrosting.
- Store Items Properly
- Avoid overloading the freezer or keeping food directly against the back wall.
5. Common Mistakes to Avoid
- Ignoring frost until it becomes excessive
- Using sharp objects to chip away ice
- Not drying the interior properly after defrosting
- Overloading freezer compartments immediately after defrosting
- Failing to check door gaskets for damage
6. Troubleshooting Issues During Defrosting
Ice Accumulation Recurs Quickly
- Check door seals for leaks.
- Ensure the fridge is at the correct temperature (recommended: 37–40°F for refrigerator, 0°F for freezer).
Water Leaks After Defrosting
- Ensure the drainage hole is clear and not blocked.
- Check that the refrigerator is level to allow proper water drainage.
Uneven Cooling
- Frost on evaporator coils may restrict airflow.
- Ensure no items are blocking internal vents.
7. Energy Efficiency and Cost Savings
Manual defrosting helps save energy in multiple ways:
- Reduces compressor workload
- Maintains consistent cooling temperatures
- Prevents overworking of electrical components
- Lowers monthly electricity bills
For Hyderabad residents, this can be especially helpful during summer months when energy consumption spikes due to high temperatures.
8. Preventive Maintenance Tips
- Monthly Gasket Cleaning: Prevent mold buildup due to humidity.
- Check Temperature Settings: Maintain recommended cooling levels.
- Avoid Overstuffing: Proper airflow reduces frost formation.
- Use Ice Trays Properly: Avoid spilling water that can freeze and stick to walls.
- Annual Technician Checkup: Helps identify issues with compressors, coils, or gaskets.
9. FAQs
Q1. How often should I defrost my refrigerator in Hyderabad?
A: Every 6 months or when ice thickness exceeds 1/4 inch.
Q2. Can I speed up defrosting with a hairdryer?
A: Not recommended. Hairdryers can damage plastic and cause electrical hazards.
Q3. Why does ice form quickly after defrosting?
A: Possible causes include faulty gaskets, improper door closing, or frequent door opening.
Q4. How can I prevent frost buildup?
A: Keep door closed, avoid overloading, clean gaskets, and maintain proper temperature settings.
Q5. Is manual defrosting better than automatic defrosting?
A: Manual defrosting is sometimes necessary for older models, and it allows thorough cleaning and maintenance.
Conclusion
Manual defrosting is an essential maintenance task for refrigerators, particularly in Hyderabad’s humid climate. Regular defrosting ensures efficient cooling, prevents energy wastage, and prolongs the lifespan of your appliance. By following this comprehensive guide, you can perform manual defrosting safely and effectively, troubleshoot common issues, and maintain an organized and hygienic freezer.
For persistent issues or complex problems, consulting a trusted refrigerator technician in Hyderabad is recommended.